~ 15 min read
Getting started with Amazon Web Services
Introduction
Amazon Web Services is popular with many organizations not only because it offers a wide variety of compute and data services and products to its customers - but also for the ease with which those products can be accessed, setup, and used. Across the board these products and services aim to modernize existing business offerings and development stacks, improve business agility, all while being secure, reliable, and accessible. One of AWS’s most used services is Amazon EC2, which lets customers create virtual machines for their applications and strategic projects. And of course as a Platform as a Service this can all be done without needing to spend any time maintaining servers or other infrastructure concerns. Another important service you’ll hear about is Amazon Simple Storage Service (S3), which offers a secure file storage service. But of course AWS also offers a whole range of other security, website infrastructure management, and identity and access management solutions that provide a complete cloud deployment experience through to maintaining ongoing business operations in the Cloud.
Account Creation
The Root User
Let’s start right at the beginning, by setting up a root user account with AWS. As noted in the official documentation, when you first create an Amazon Web Services (AWS) account, you begin with a single identity that has complete access to all AWS services and resources. This identity is called the AWS account root user. You can sign in as the root user using the email address and password that you used to create the account. But it’s important to stress, once again, the root user provides the principle level of control to that particular account - having completely unrestricted access to all account resources, billing, access keys and secret keys. So for example this would be the highest level account created for a business - from which other accounts, further down the access hierarchy would then be created for teams and individuals within the company. These other accounts (whether at the user, role, or group level) are given more restricted access that better reflects the particular job description and/or enterprise data access policies that the business has established.
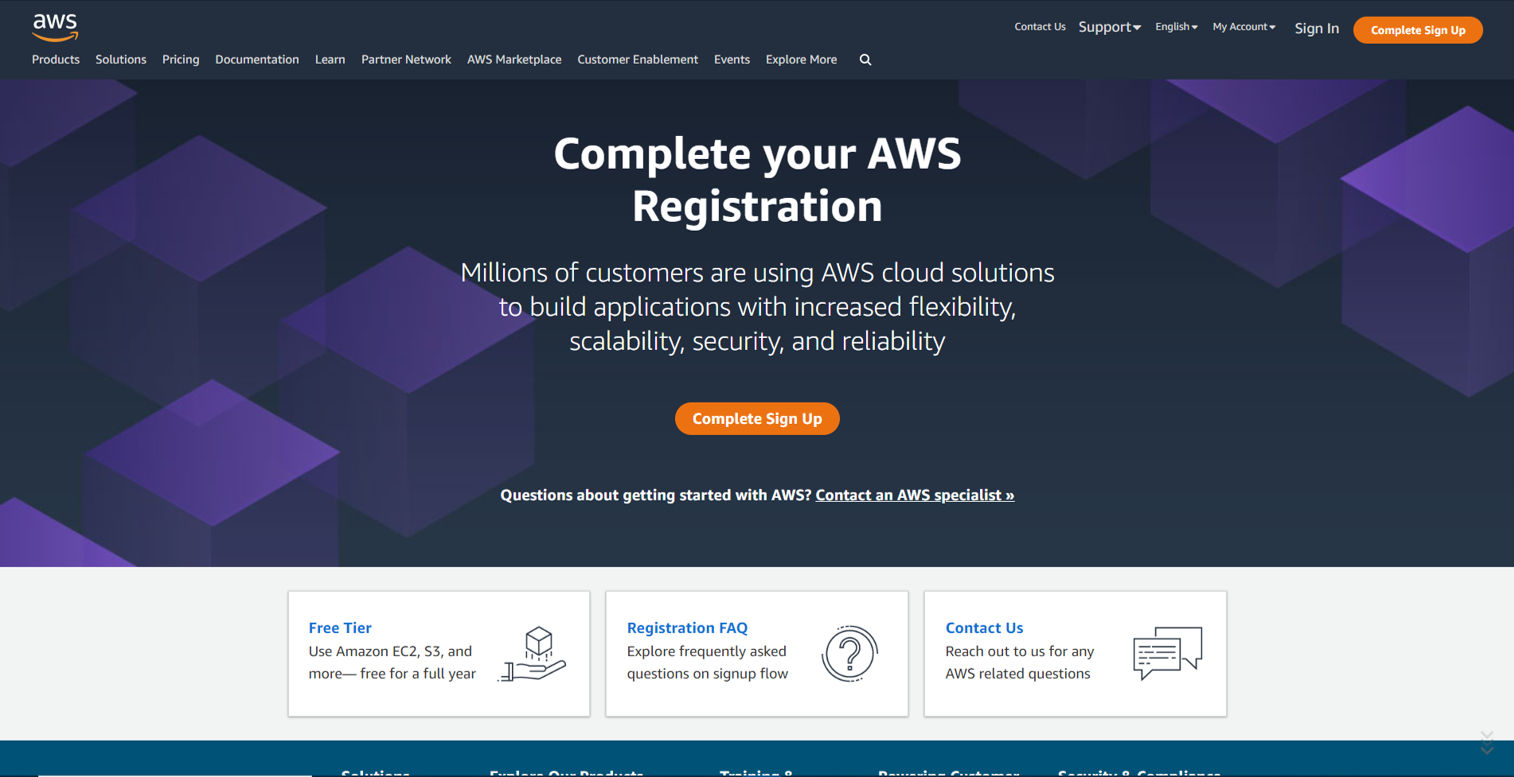
Complete your AWS Registration
-
We begin at the AWS registration page. At the top right we click on the “Complete Sign Up” button to start creating our account.
-
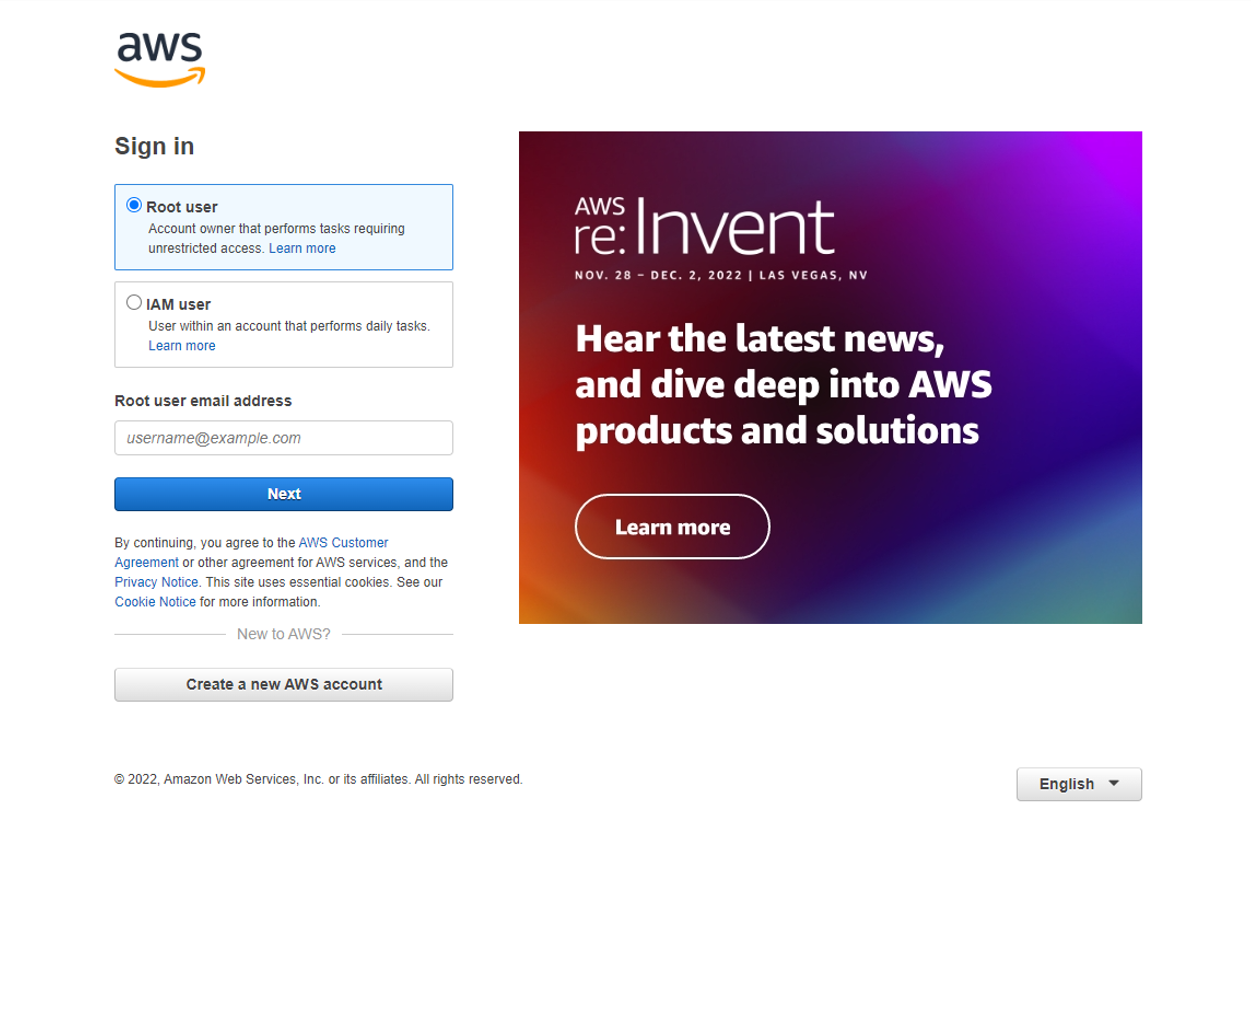
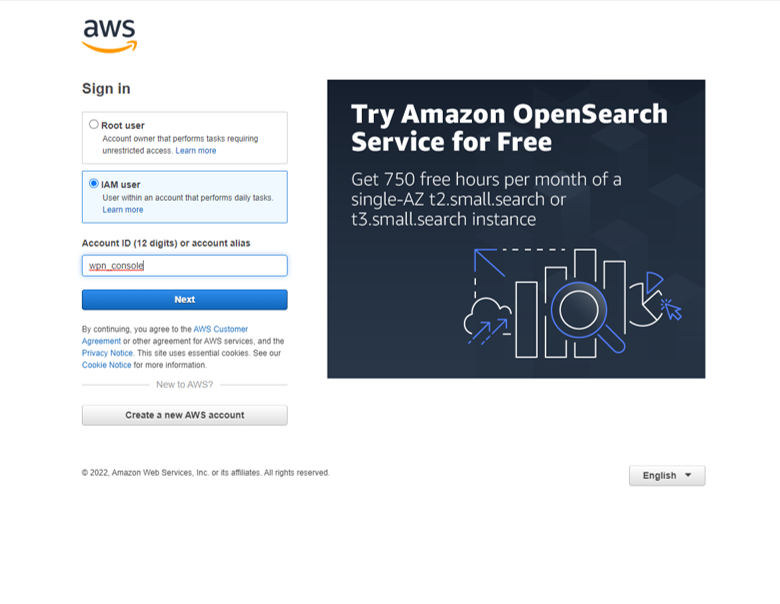
This will lead you to the sign in page, where you’ll see the choice between Root user (as described above) versus the IAM user. Once you have your AWS account setup this will be where you choose between these two user types. The second option of IAM user is the account type you should use for everyday tasks. Thus as I’ll show in the next section, you use your root user account to create your (first) IAM user acccount - and it’s to this IAM user account that you would assign the appropriate permisssions for everyday tasks throughout AWS. Click on “Create a new AWS account”.
-
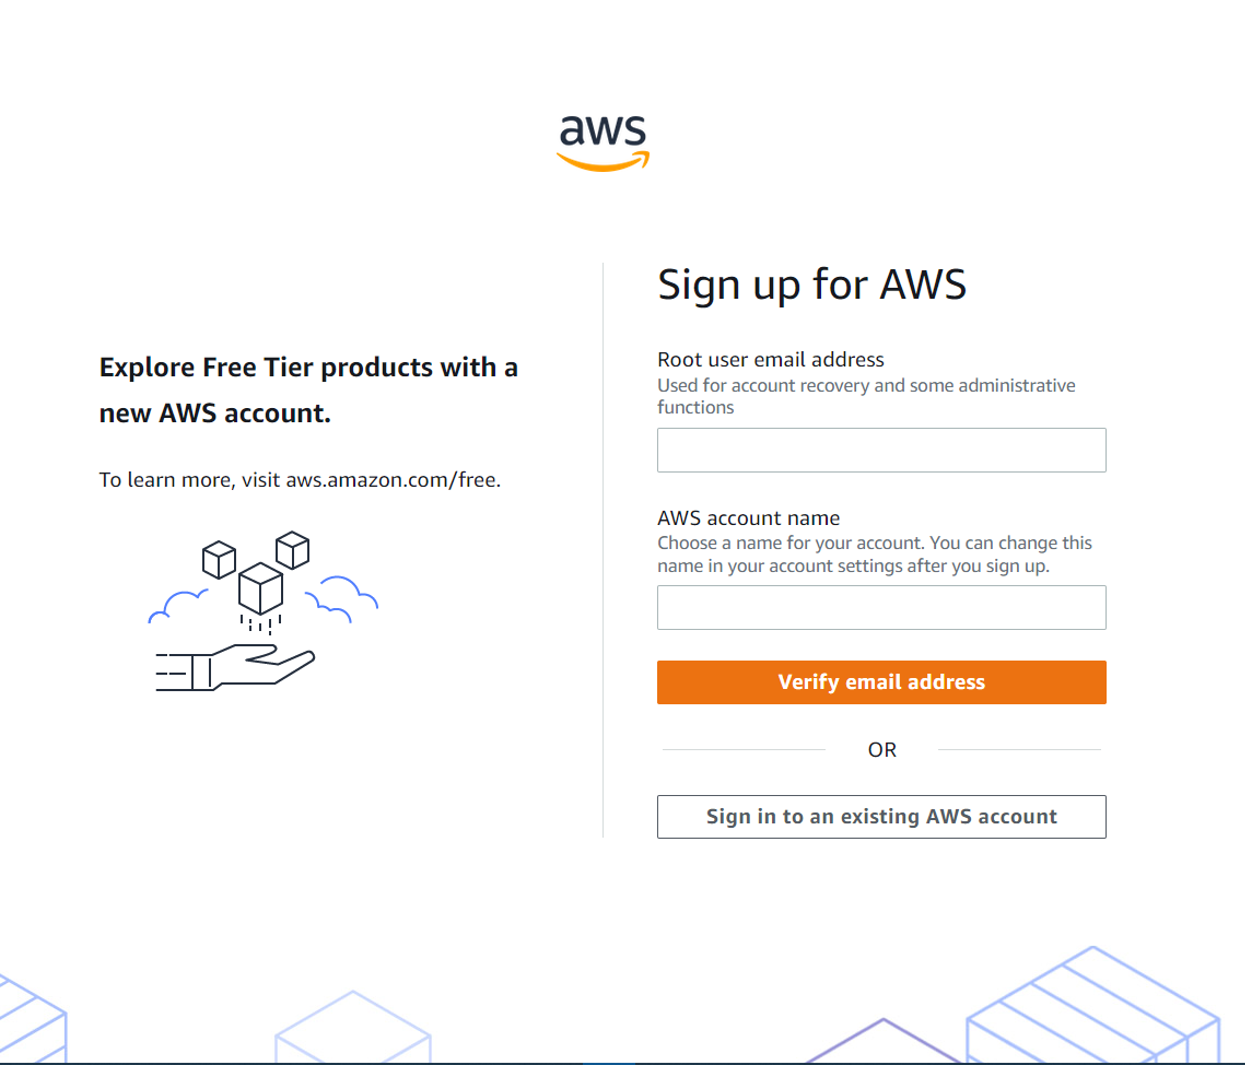
Here on the sign up page we choose the email address we wish to associate with the root user. If this is your own personal account then use your own email. Otherwise presumably the email address of the CTO or corporate account would be used. Then, for your AWS account name, choose something pertinent before clicking on the orange “Verify email address”.
-
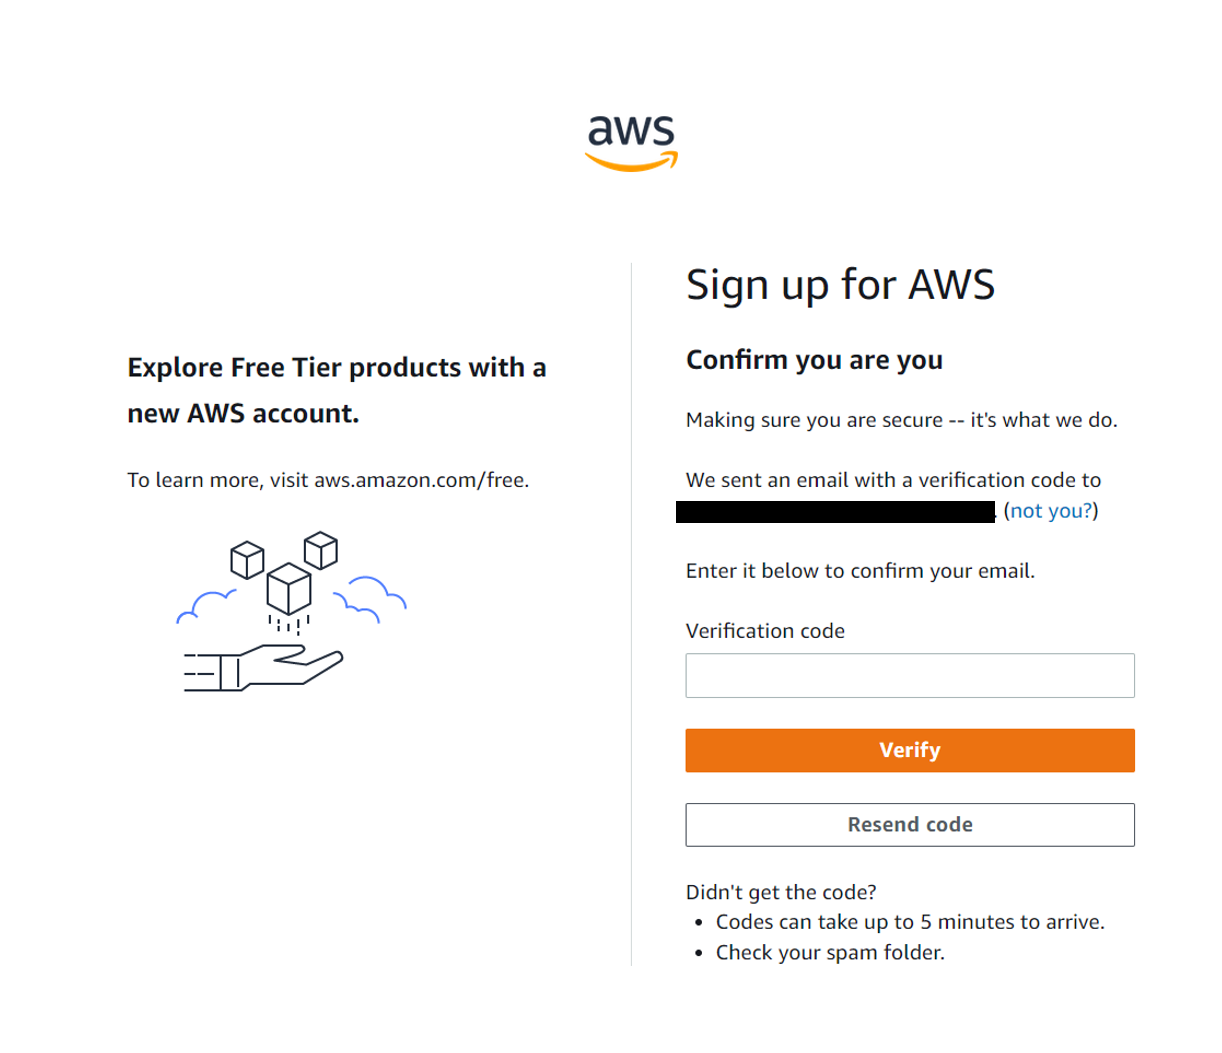
Amazon will send you a verification email consisting of a 6-digit code to you nominated email address. Enter that code in the designated field before clicking on the orange “Verify” button. The code is only valid for 10 minutes so make sure to move forwards in that timeframe.
-
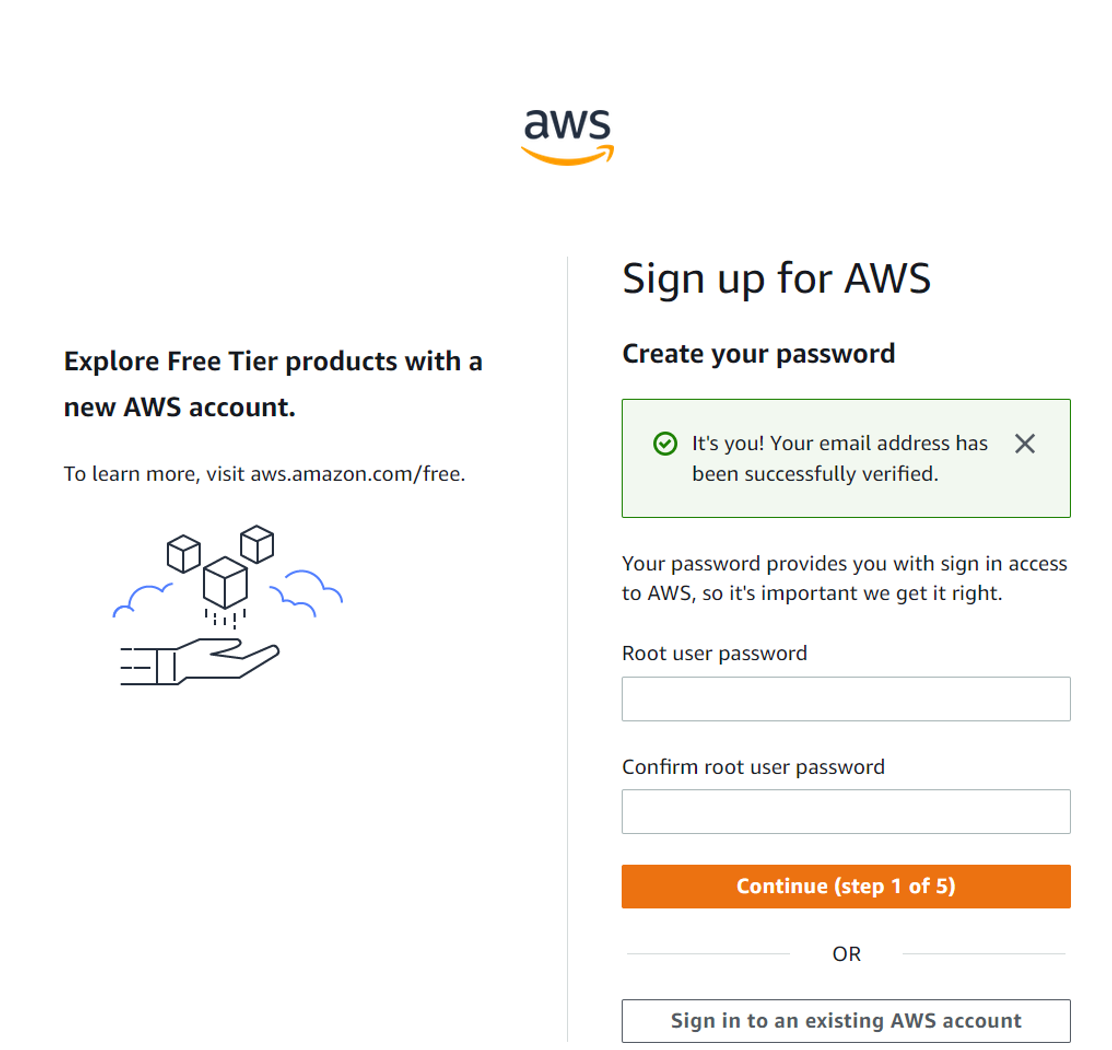
With a successful verification you can then set your Root user password:
-
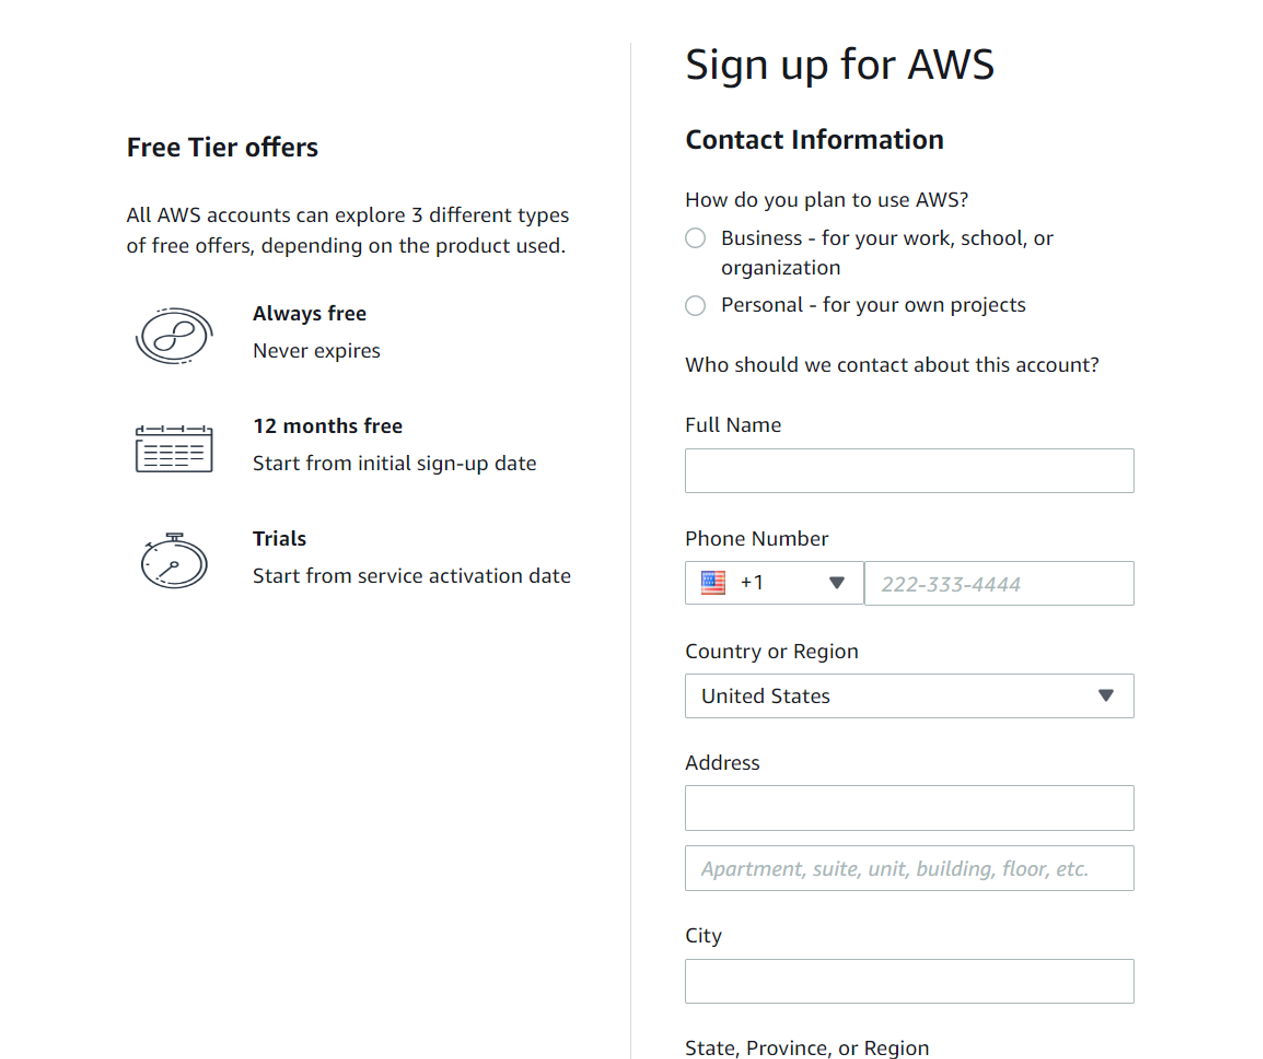
Enter your contact information. It’s absolutely necessary to ensure these details are correct as at this root user level you’ll have access to all AWS services.
-
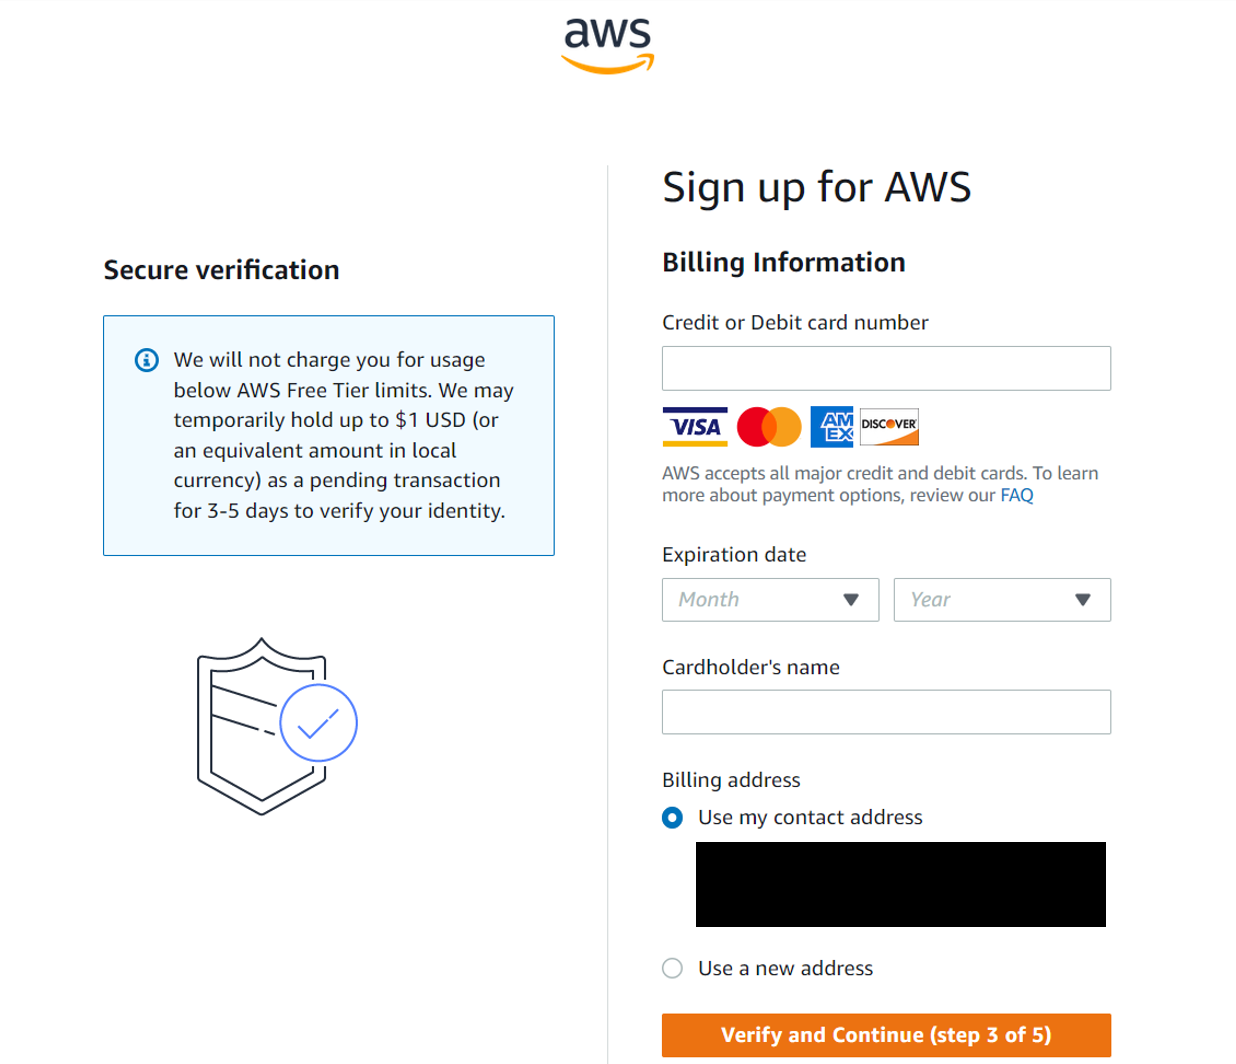
Billing information is next. As noted above it’s absolutely necessary to ensure these details are correct as these billing details will be linked to this root user, who in turn will have access to all AWS services. Keeping control of your spend with AWS services is a job best shared across multi-functional teams. Of course, you will also have access to the free tier, so that you can explore a range of AWS services (within certain limits) as you get used to the AWS environment.
-
Confirm identity via text message or voice call:


-
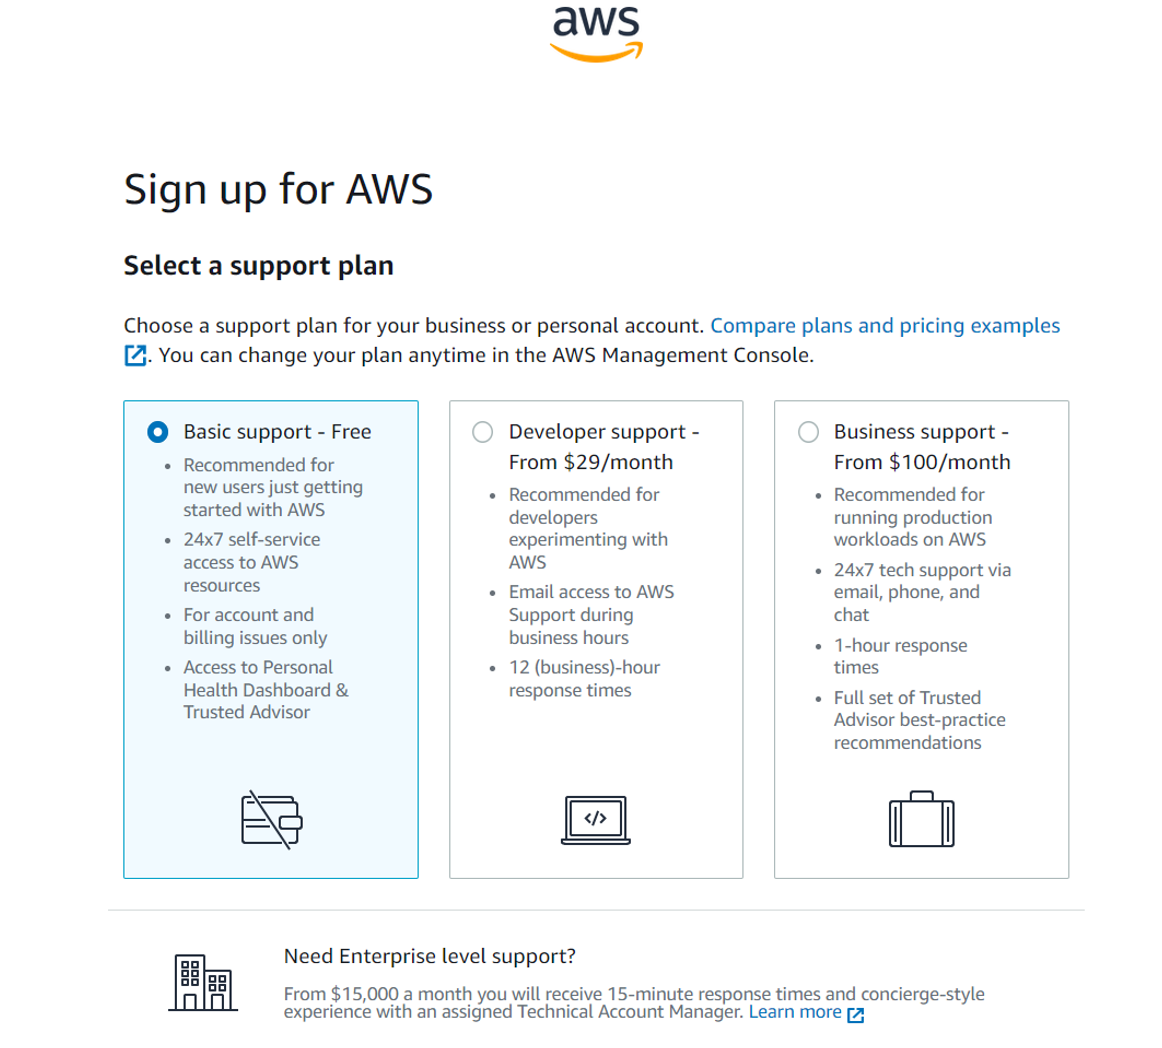
Here we see our choices for support plan. As an individual developer, in the context of this blog article, I’ve selected the lowest level “Basic support - Free”.
-
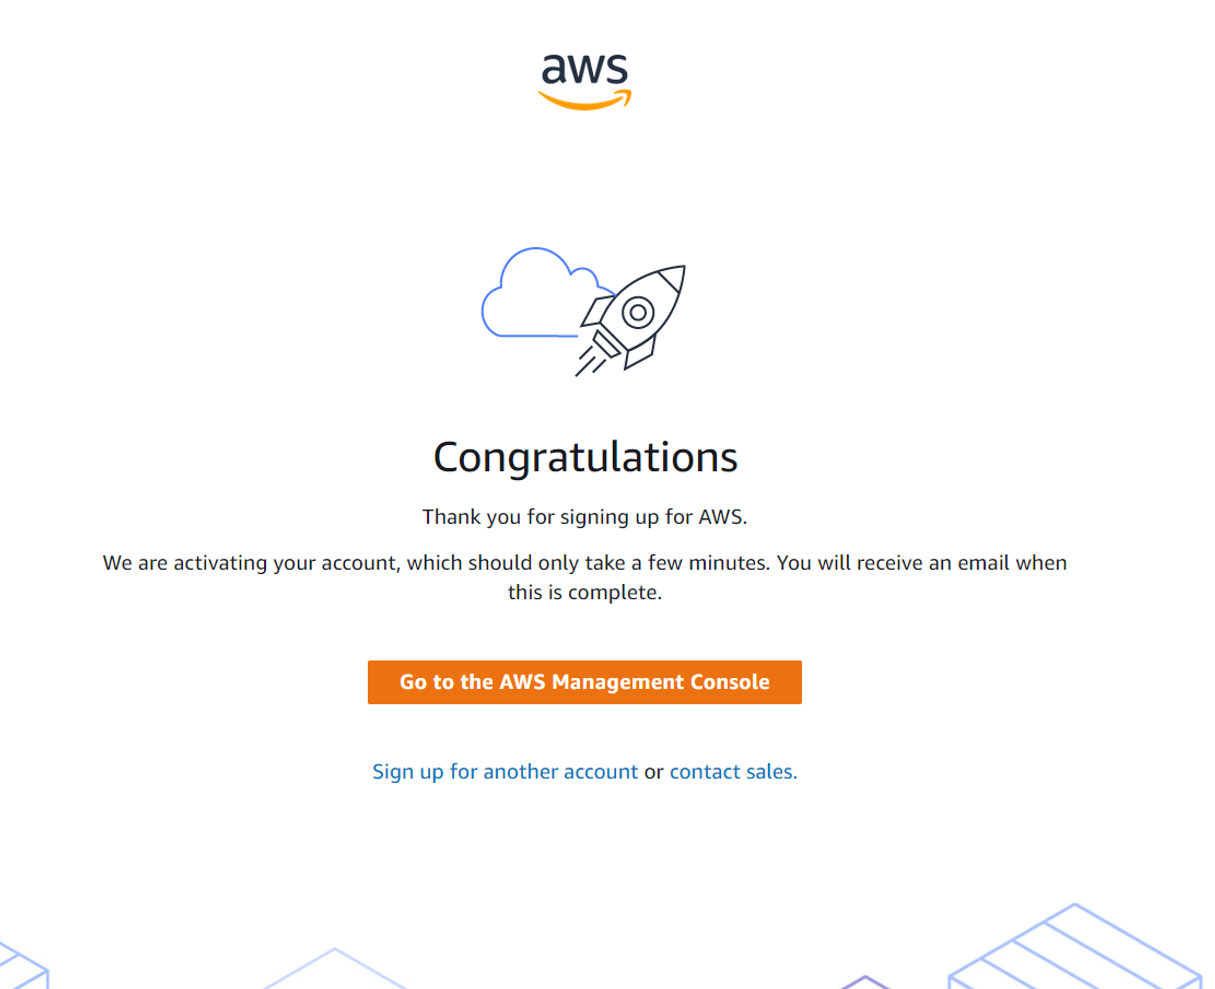
Done!
The IAM User
As mentioned in the official documentation an AWS Identity and Access Management (IAM) user is an entity that you create in AWS to represent the person or application that uses it to interact with AWS. So for example in the context of a business or enterprise, the IAM users might be the individual members of staff (likely engineers of some sort). You might create an IAM user when someone joins your team, or when you create a new application that needs to make API calls to AWS. In any event, the IAM user(s) would be distinct from the root user, who is likely to be the CTO or other senior stakeholder. An IAM user in AWS consists of a name and credentials - and it is to this IAM user account that you would assign the appropriate permisssions for everyday tasks throughout AWS.
The fact that the root user has all the permissions and access necessary to do absolutely anything in AWS means such an account should be protected and strictly only used for account management. It is important therefore, now that we have our root user setup, to now separate out the concerns between that overall account management versus whatever day-to-day tasks you envision you (or your team) will need to perform within AWS. For creating an IAM user we can refer to the documentation. We can choose to use either (a) the AWS Management Console, (b) the AWS CLI, Tools for Windows PowerShell, or (c) an AWS API operation.
-
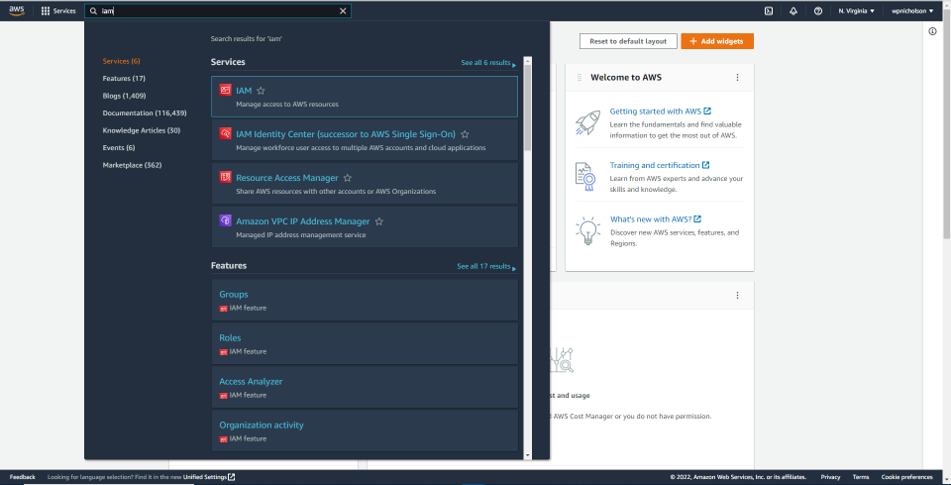
For option (a) start from your root user home page, and in the search bar look for and select the IAM option.
-
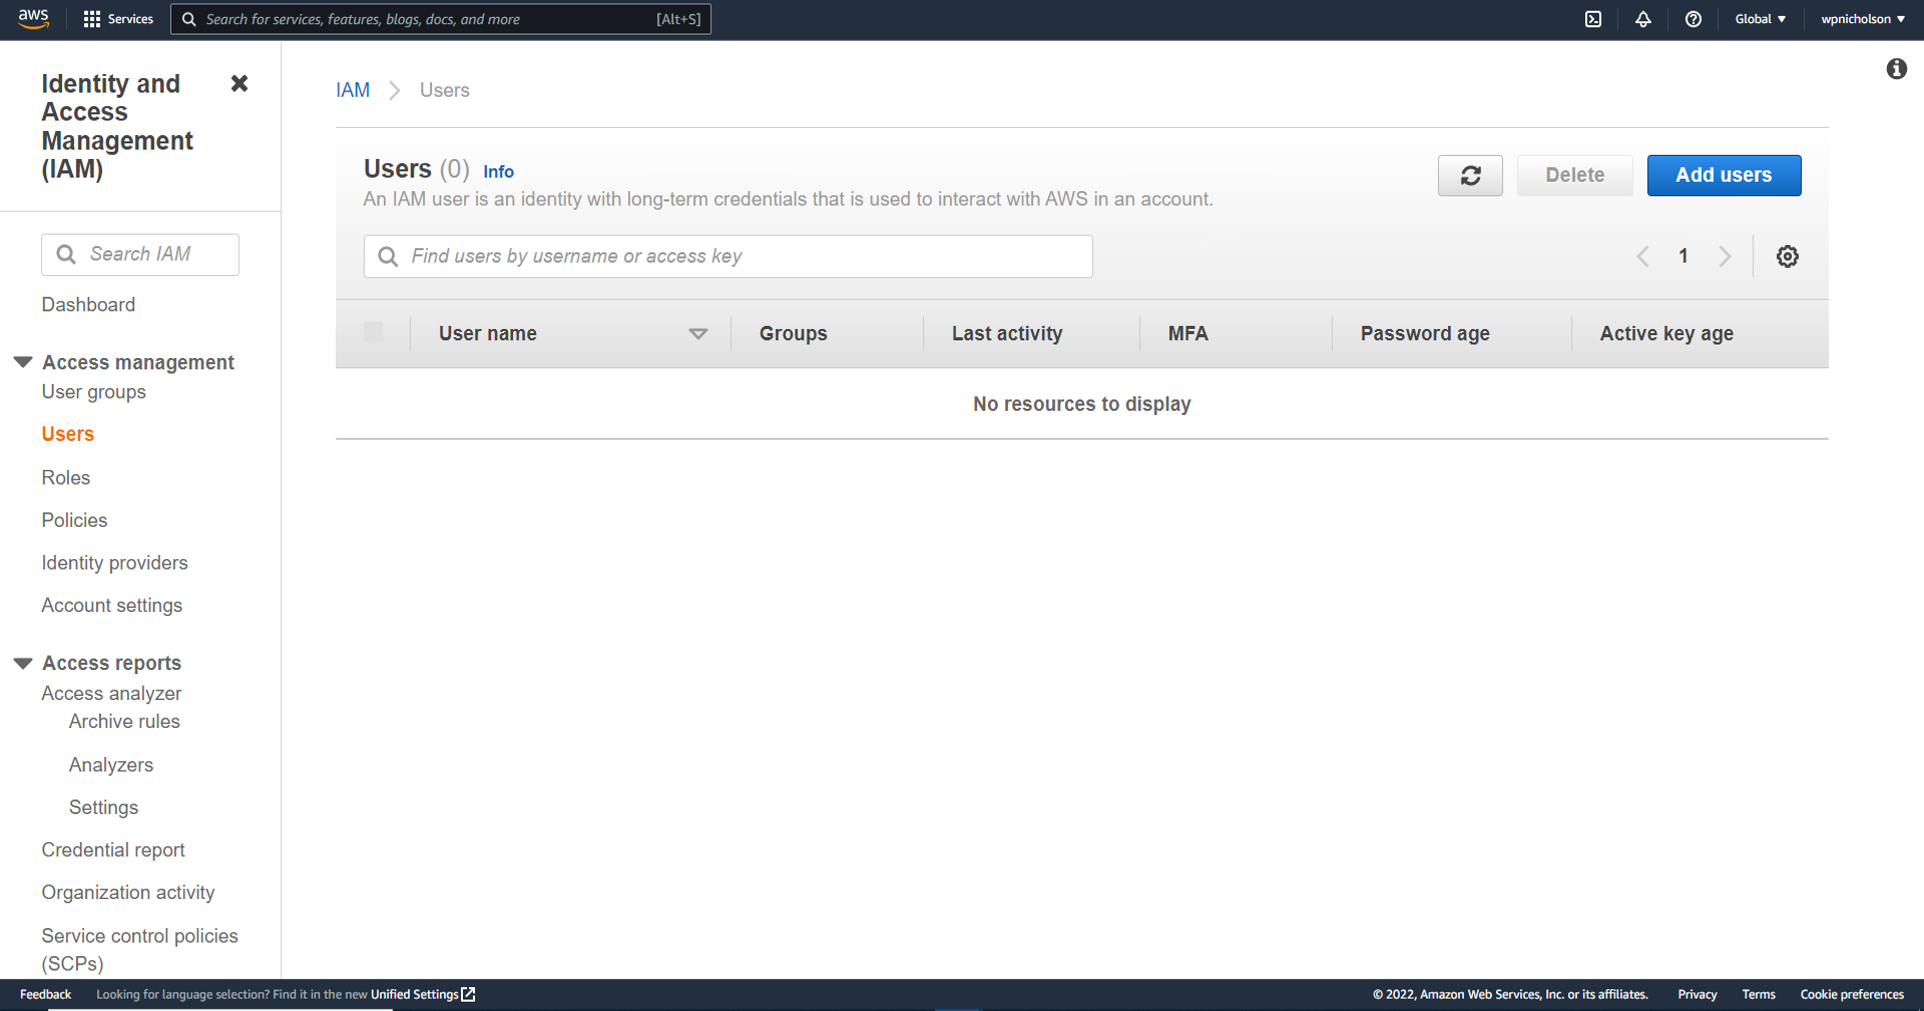
This will lead you to the IAM dashboard, from where multiple new users can be added as well as creating user groups, roles and policies. Click on “Users” from the left hand menu.

-
Here you’ll see your individual IAM users listed - though clearly there are none at the moment since all we’ve done so far is create our root user. Click the blue “Add users” button.
-
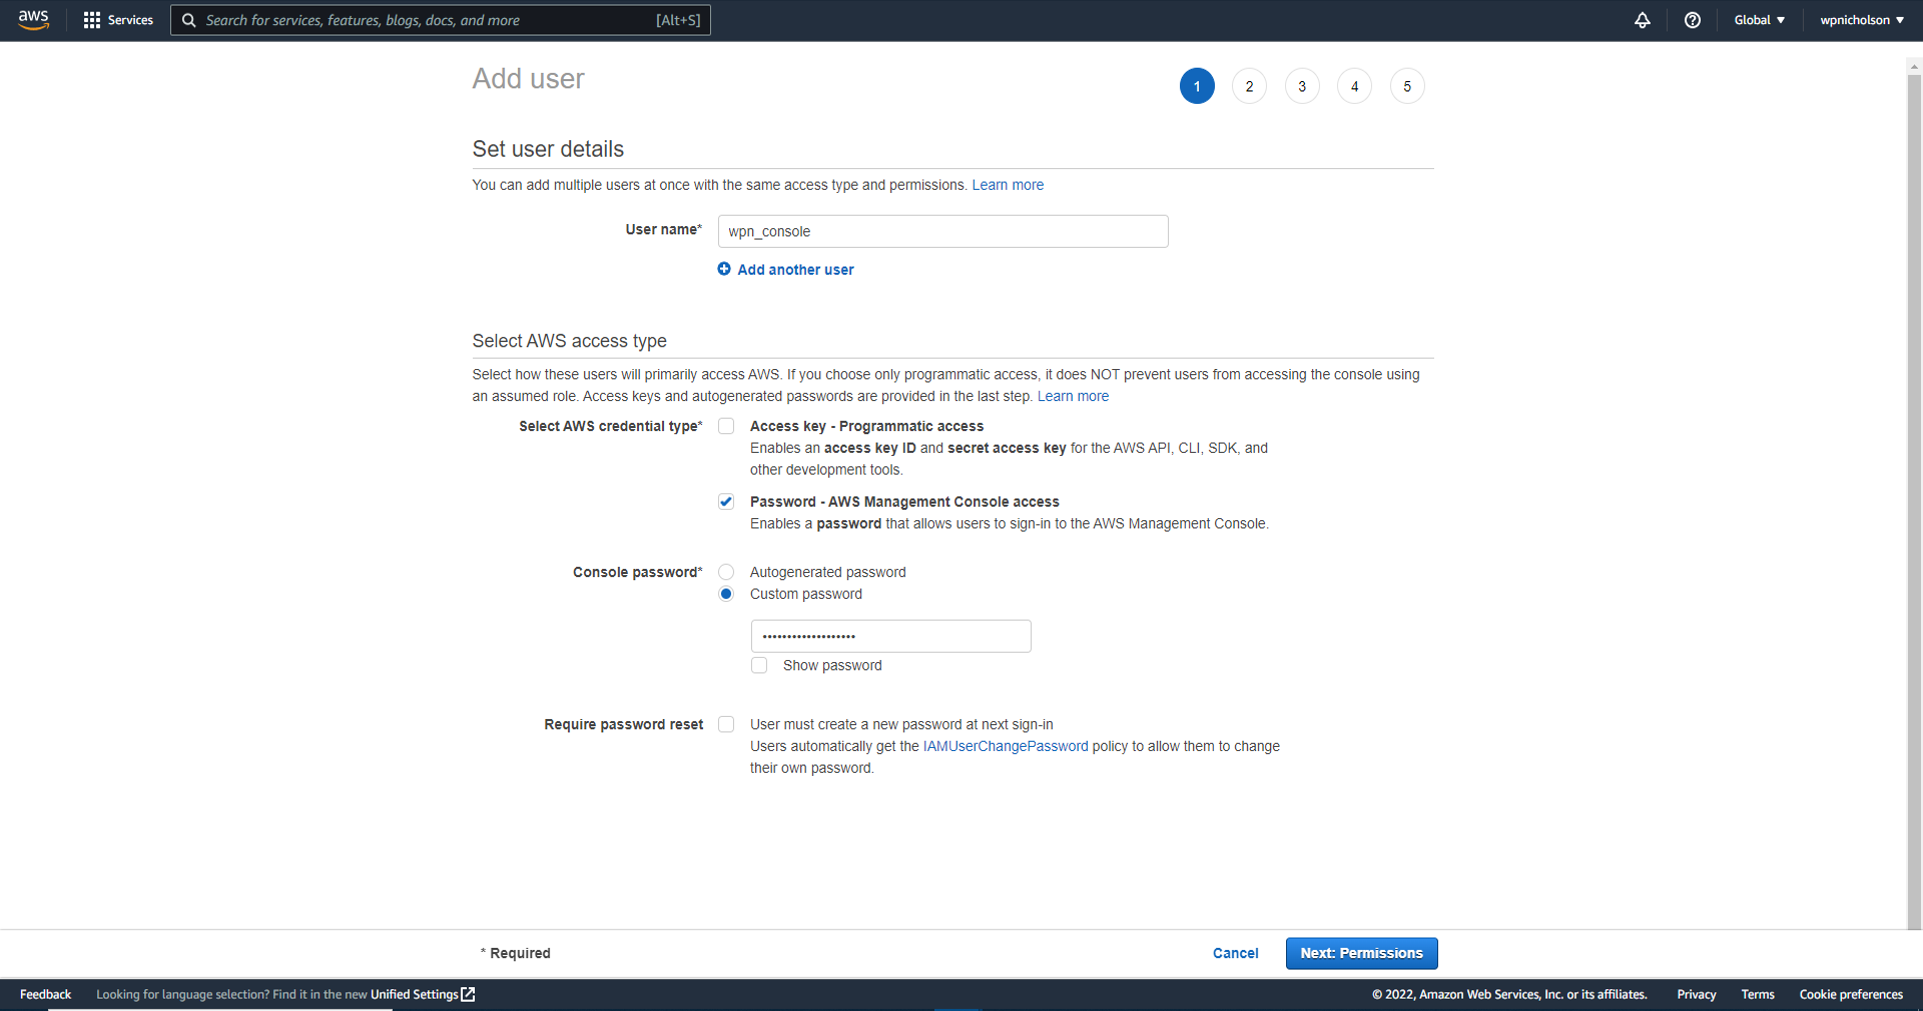
Now we can define a user name, which typically would relate to the employee that this IAM user would belong to. But it’s possible you may want this IAM user assigned some other relevant or memorable user name that relates to what the user will be doing. Here, for this example at least, I’ve selected for password driven access as generally speaking I’d like this IAM user to retain access to the AWS Management Console.
-
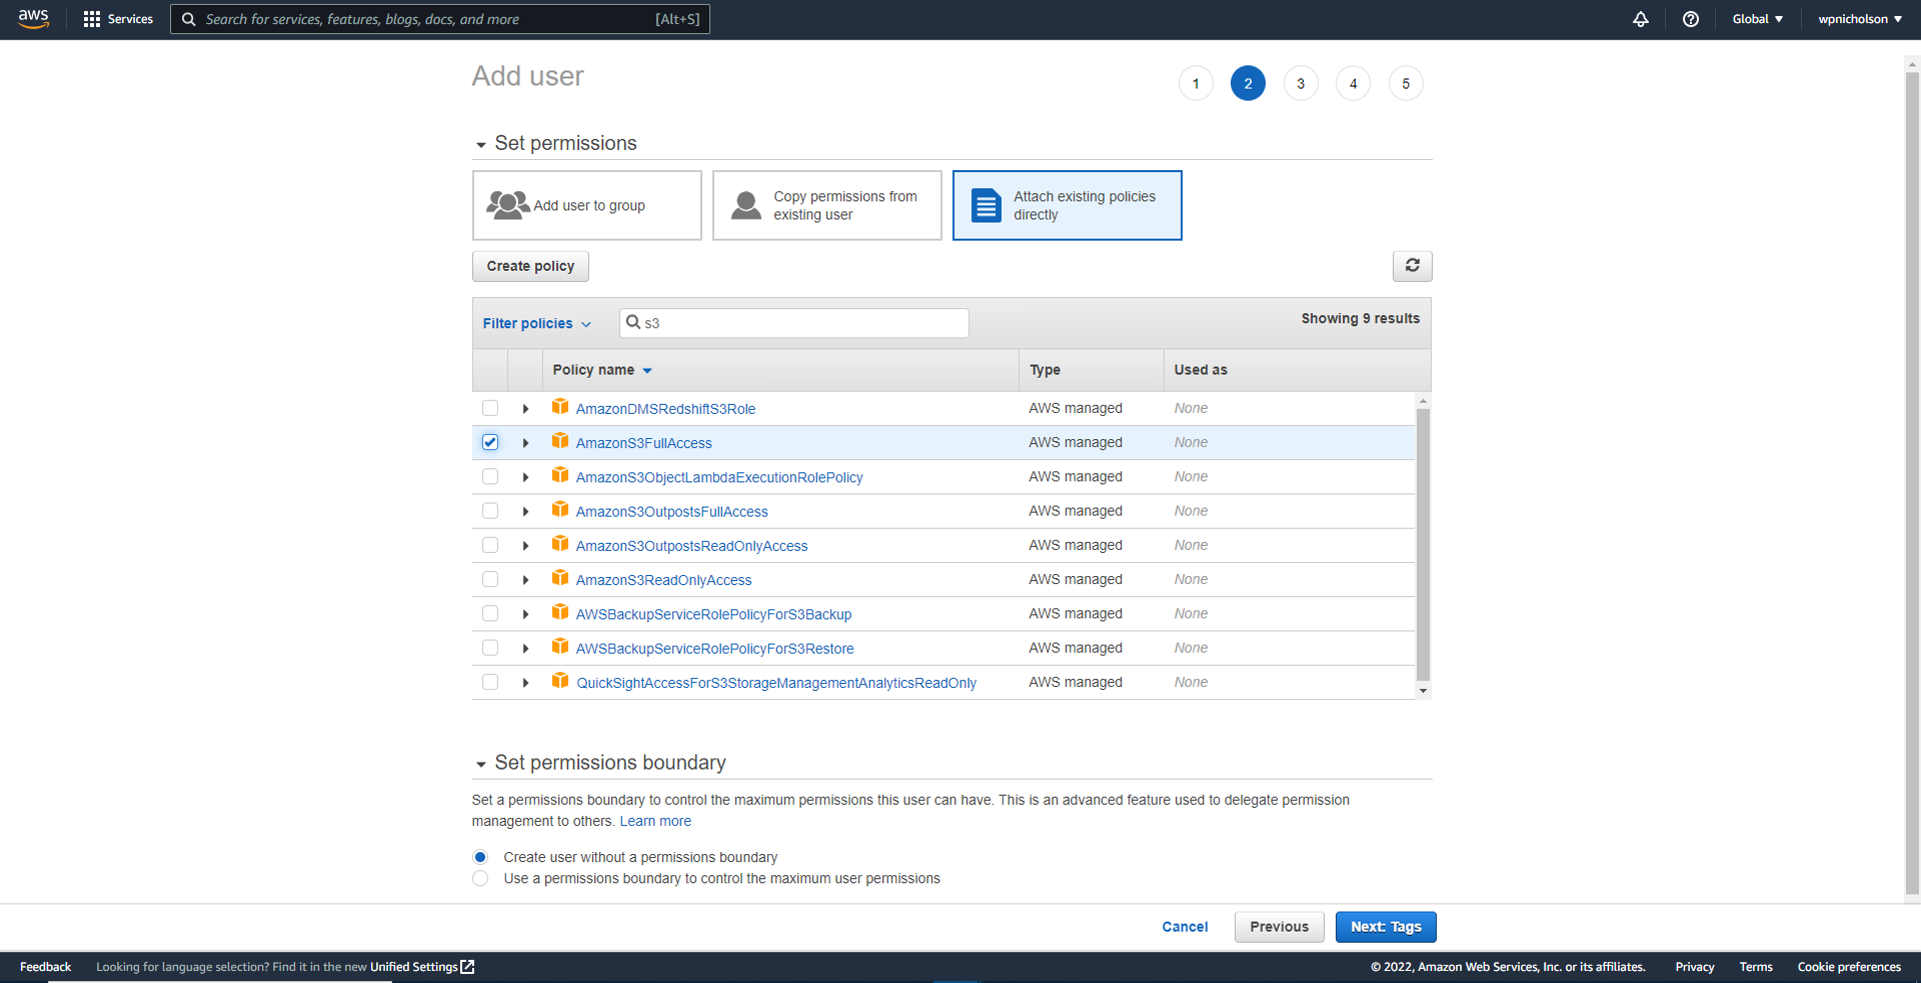
On this screen we attach the specific permissions that are relevant to this IAM user and their job description. A full range of predefined permissions are available - and you’ll notice you can also copy permissions from an existing user or add this user to an existing group.
-
Here I create a useful descriptive tag that is now associated with this IAM user.

-
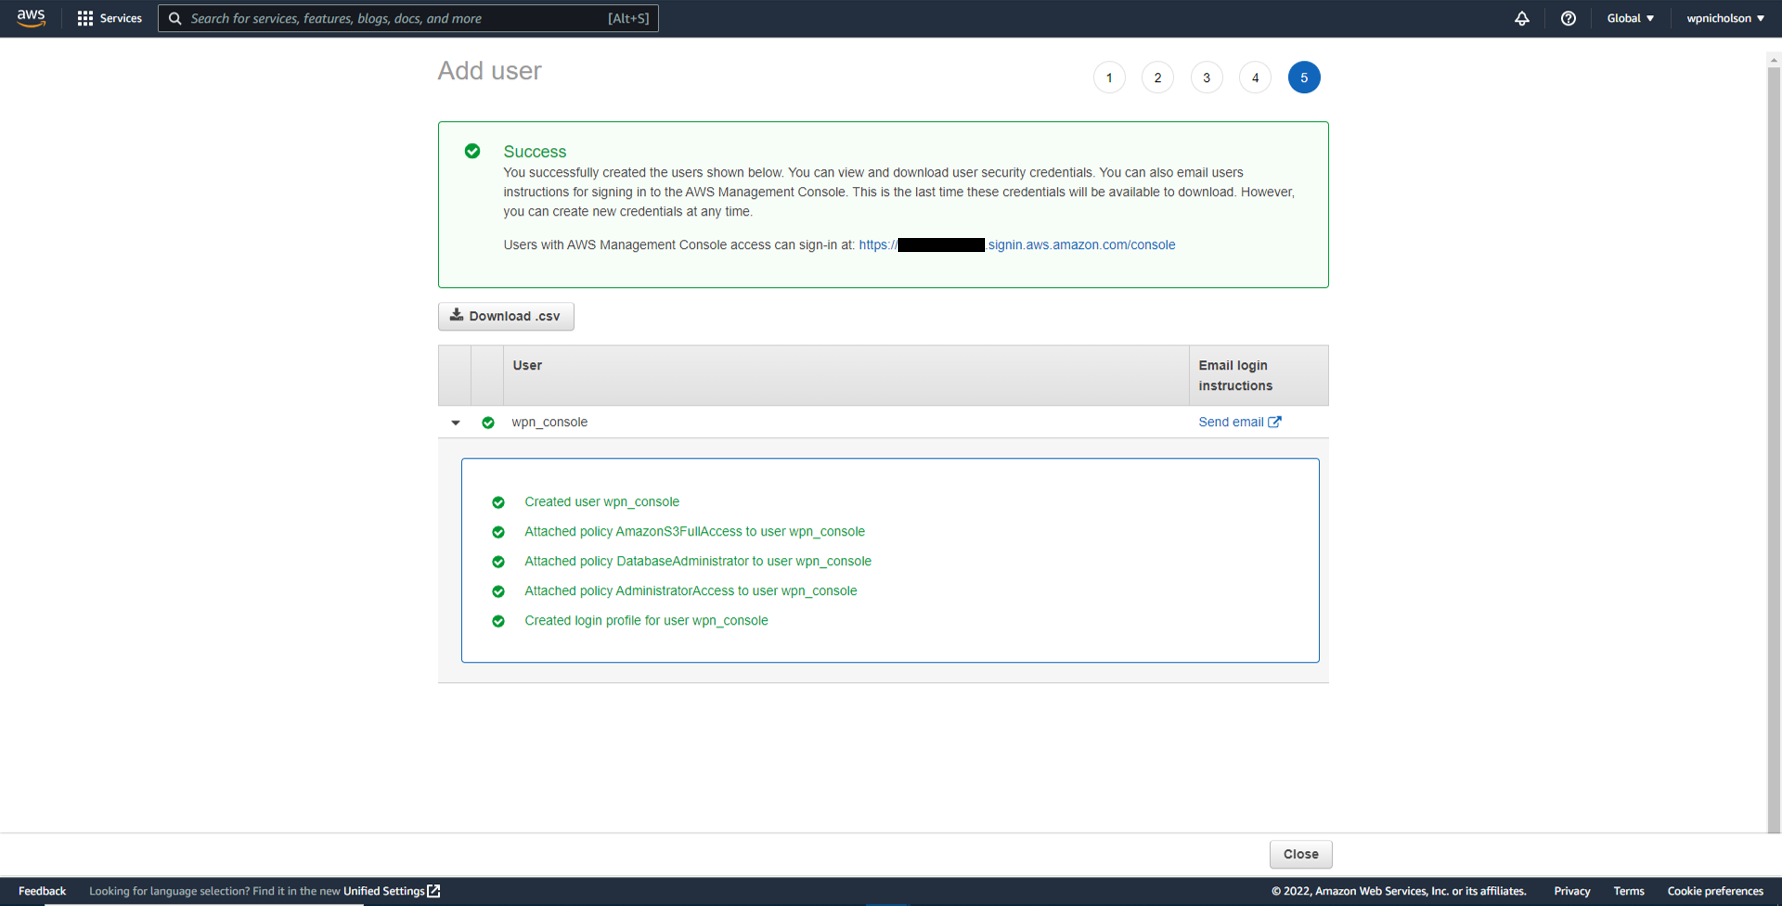
Done
-
Thus we sign out of our root user profile and then sign back in using the IAM user profile just created.
Selected AWS Services
Lets take a look at some of the more useful and/or popular services available through AWS.
Amazon Elastic Compute Cloud (EC2)

Secure, resizable compute capacity in the cloud is delivered by AWS by Amazon EC2 instances. These are highly flexible, cost-effective, and fast virtual machines that provide raw compute capacity for businesses to host their applications.
With traditional on-premises resources, you have to spend money upfront to purchase the necessary hardware, wait for the servers to be delivered to you, install the servers in your physical data center and then make all the necessary configurations. By contrast, with an Amazon EC2 instance you can use a virtual server to run applications in the AWS Cloud. Upon requesting the EC2 instance it will launch and be ready for use within a few minutes. As always with any cloud payment model, you pay only for the compute time you use when an instance is running, not when it is stopped or terminated - layered onto the fact that you pay only for the server capacity that you need or want.
You also have the flexibility and control over the configuration of those instances. When you provision an EC2 instance, you can choose the operating system based on either Windows or Linux. Moreover, if needed you can provision thousands of EC2 instances on demand with a blend of operating systems and configurations to power whatever compute requirements your project or businesses applications require. Beyond the OS, you also configure what software you want running on the instance - from your own internal business applications, simple web apps or complex web apps, databases or third-party software.
EC2 instances are also resizable. Thus you might start with a small instance, realize the application you are running is starting to max out that server such that you then give that instance more memory and more CPU. This is referred to vertically scaling an instance. Equivalently, you can also control the networking aspect of EC2 - such as what type of requests make it to your server, indeed whether they are publicly or privately accessible.
EC2 instances run on top of physical host machines managed by AWS using virtualization technology. Thus when you spin up an EC2 instance, you aren’t necessarily taking an entire host to yourself. Instead, you are sharing the host, with multiple other instances, otherwise known as virtual machines (other EC2 instances). This idea of sharing underlying hardware between virtual machines is called multitenancy, where a hypervisor running on the host machine is responsible for sharing the underlying physical resources between the virtual machines.
Amazon Lambda

Amazon Lambda allows you to run/host short running functions i.e. those that run within a given 15 minute timeframe. The purpose here is to provide a framework where service-oriented, event driven applications can run - do their job - and then all resources are returned to AWS. As such, there is no need for you to provision or manage servers, which in more technical terms is what we would refer to as serverless computing. Your code is still running on servers of course, it’s simply that you do not need to provision or manage these servers. All the management of the underlying environment (provisioning, scaling, high availability, and maintenance) is taken care of for you. Another benefit of serverless computing is the flexibility to scale serverless applications automatically. Serverless computing can adjust the applications’ capacity by modifying the units of consumptions, such as throughput and memory.
Amazon Simple Storage Service (S3)

Amazon Simple Storage Service (S3) provides object level storage - this is to say that Amazon S3 stores data as objects in buckets. In object storage, each object consists of data, metadata, and a key. And when a file is modified, the entire object is updated. The data might be an image, video, text document, or any other type of file. Metadata contains information about what the data is, how it is used, the object size, and so on. And finally, the object’s key is its unique identifier.
With Amazon S3 you can store and retrieve an unlimited amount of data - as objects in buckets - although any individual object must be below the maximum allowable size of 5 TB. You can set permissions to control visibility and access to it and you can also use the Amazon S3 versioning feature to track changes to your objects over time.
You also have access to tiers of storage class. These tiers offer mechanisms for different storage use cases, such as data that needs to be accessed frequently versus audit data that needs to be retained for several years.
-
S3 Standard: data is stored in such a way that AWS can sustain the concurrent loss of data in two separate storage facilities. This is because data is stored in at least three facilities, so multiple copies reside across locations. Consequently, data stored in a S3 Standard tier bucket has a 99.99999999% probability that it will remain intact, after a period of one year.
-
S3 Standard-Infrequent Access: is used for data that is accessed less frequently that for S3 Standard, but still requires rapid access when needed. Use cases include storage of backups, disaster recovery files, or any object that requires a long term storage.
-
S3 One Zone-Infrequent Access: stores data in a single Availability Zone, which therefore reduces redundancy in return for saving costs on storage. Of course, you can easily reproduce your data in the event of an Availability Zone failure.
-
S3 Intelligent-Tiering: here, Amazon S3 monitors objects’ access patterns. If you haven’t accessed an object for 30 consecutive days, Amazon S3 automatically moves it to the infrequent access tier, Amazon S3 Standard-IA. While, if you access an object in the infrequent access tier, Amazon S3 automatically moves it to the frequent access tier, Amazon S3 Standard.
-
S3 Glacier Instant Retrieval: represents the first of the archival storage options, which are commonly used for auditing and compliance purposes - or simply when the stored data does not need to be accessed frequently. When you decide between the options for archival storage, consider how quickly you must retrieve the archived objects. You can retrieve objects stored in the Amazon S3 Glacier Instant Retrieval storage class within milliseconds, with the same performance as Amazon S3 Standard.
-
S3 Glacier Flexible Retrieval: Amazon S3 Glacier Flexible Retrieval is a low-cost storage class that is ideal for data archiving. For example, you might use this storage class to store archived customer records or older photos and video files.
-
S3 Glacier Deep Archive: Amazon S3 Deep Archive supports long-term retention and digital preservation for data that might be accessed once or twice in a year. This storage class is the lowest-cost storage in the AWS Cloud, with data retrieval from 12 to 48 hours. All objects from this storage class are replicated and stored across at least three geographically dispersed Availability Zones.
-
S3 Outposts: delivers object storage to your on-premises AWS Outposts environment. Amazon S3 Outposts is designed to store data durably and redundantly across multiple devices and servers on your Outposts. This works well for workloads with local data residency requirements that must satisfy demanding performance needs by keeping data close to on-premises applications.
Amazon Relational Database Service (RDS)

In a relational database, data is stored in a way that relates it to other pieces of data. Relational databases use structured query language (SQL) to store and query data. This approach allows data to be stored in an easily understandable, consistent, and scalable way. You can lift-and-shift and migrate your database to run on Amazon EC2. Amazon RDS is a service that enables you to run relational databases in the AWS Cloud. It is a managed service that automates tasks such as hardware provisioning, database setup, patching, and backups. You can integrate Amazon RDS with other services to fulfill your business and operational needs, such as using AWS Lambda to query your database from a serverless application. Amazon RDS provides a number of different security options - such as encryption at rest (protecting data while it is stored) and encryption in transit (protecting data while it is being sent and received.
Amazon RDS supports 6 database engines, which optimize for memory, performance, or input/output (I/O).
- Amazon Aurora
- PostgreSQL
- MySQL
- MariaDB
- Oracle Database
- Microsoft SQL Server
In the above, Amazon Aurora is Amazon’s propriety database engine - their enterprise-class relational database. It is compatible with MySQL and PostgreSQL relational databases and is up to five times faster than standard MySQL databases and up to three times faster than standard PostgreSQL databases. Amazon Aurora helps to reduce your database costs by reducing unnecessary input/output (I/O) operations, while ensuring that your database resources remain reliable and available. The recommendation is to consider Amazon Aurora if your workloads require high availability since it replicates six copies of your data across three Availability Zones and continuously backs up your data to Amazon S3.
Conclusion
So, admittedly, I’ve barely scratched the surface of what Amazon Web Services have to offer. Nonetheless, we’ve progressed through creating the master level root user, then to the individual IAM user, before looking over some of the most well used and well known AWS services.